Sunday, September 26, 2010
Friday, August 27, 2010
Monday, August 23, 2010
Wednesday, June 23, 2010
Sunday, June 13, 2010
Speed Painting: fat guy
I'm not dead, just employed
I managed to land a pretty sweet gig as a photoshop wizard for Apple, and that's changed my life pretty dramatically. I'm no longer drawing furiously in an attempt to make myself more employable. If I can continue doing my same line of work, I'd be perfectly happy working for apple for the next few decades.
Here are a couple of illustrational things that I've done for apple.
My latest schtick: Tea Painting
My work has a couple of machines in our break rooms that dispense free coffee for everyone who needs a morning buzz. They also dispense hot chocolate and hot water for brewing. I wanted to take advantage of these things, but I don't drink coffee and I'm anti-empty calories at this point in life, so I've recently become a connoisseur of herbal teas.
It didn't take long before I decided that it would be cool to paint with tea, so I made myself a pretty sweet palette of tea paints.
Saturday, April 17, 2010
occlusion lighting
Wednesday, March 17, 2010
Monday, March 15, 2010
Monday, March 8, 2010
Sunday, March 7, 2010
Tuesday, March 2, 2010
manufacturing portfolio pieces
Wednesday, February 17, 2010
Thursday, February 4, 2010
Jim's coloring book
Monday, February 1, 2010
Getting Pumped for V-day
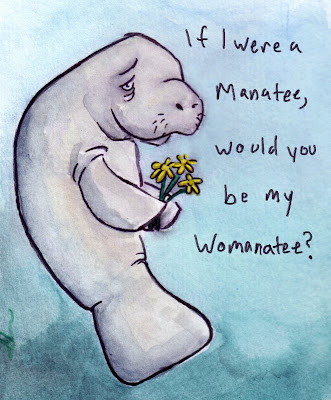
Historically, Valentine's day and I haven't been on the best terms. The holiday seems to have an unfortunate tendency to coincide with breakups, defacing injuries, and other tragic events. I realized not too long ago that I was probably going to spend yet another Valentine's being just as single as ever, so I decided that instead of whining about it, I would make super awesome valentine's day cards and then give them out to everyone I know.
I didn't like this one, so I decided to redo it, but then I decided I liked it again.
Wednesday, January 27, 2010
Fat and Goofy: The Secret to Artistic Happiness
For all you true believers who might be interested in learning what my process for digital painting is like, here's a quicky on one of two approaches that I usually take. This approach is remarkably similar to Adam Ford's.
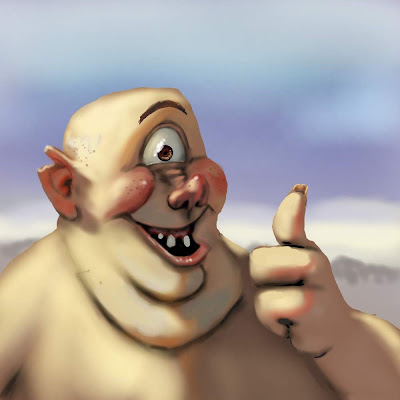
Step 1: Draw something. I'm using the fine point pen from Corel Painter 9 for this drawing, but I'm pretty sure there are other brushes better suited for sketching; I just haven't found any yet.
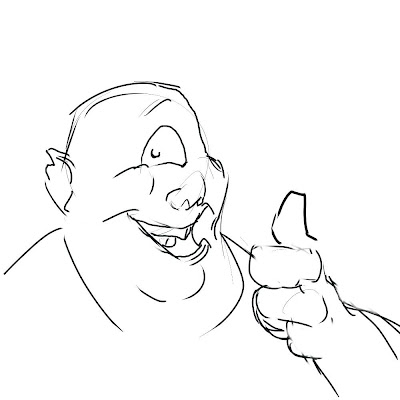
Step 2: Base colors. Here's where you nail down your silhouette. Keep it all one color, because if you want to change the skin color later on (which I did), all you'll have to do is experiment around with the paint bucket tool until you find the skin tone that's right for you.
Step 3: on a soft light layer, I put a desaturated green on his beard growth area, yellow across the forehead, and a rosy pink color on his cheeks, which I really wanted to play up on this one.
Step 4: on a multiply layer, I put down a light yellow color everywhere I wanted to show direct sunlight. By the time this step is over, the image should be able to read well even after you take away the lines.
Step 5: Another screen layer with a desaturated cyan midtone. After I finished this, I took the opacity of the layer down to 37% or so so that the ambient lighting wouldn't be overpowering.
Step 6: slap in some occlusion shadows on a multiply layer. For this, I painted using a straight black but set the the opacity of my brush really low, about 10%.
This is what it looks like when I put all the layers together. After this point, I flattened the image and worked out some things like soft and hard edges, subsurface scattering along the core shadows and in the ear, and then I decided that he needed freckles.
Subscribe to:
Posts (Atom)