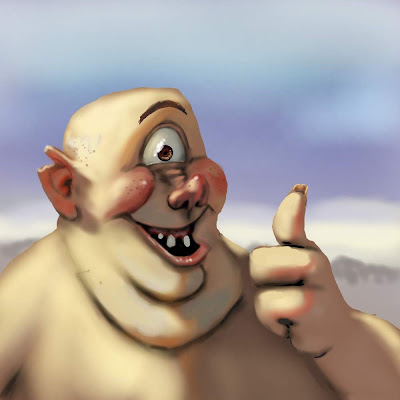
Step 1: Draw something. I'm using the fine point pen from Corel Painter 9 for this drawing, but I'm pretty sure there are other brushes better suited for sketching; I just haven't found any yet.

Step 2: Base colors. Here's where you nail down your silhouette. Keep it all one color, because if you want to change the skin color later on (which I did), all you'll have to do is experiment around with the paint bucket tool until you find the skin tone that's right for you.

Step 3: on a soft light layer, I put a desaturated green on his beard growth area, yellow across the forehead, and a rosy pink color on his cheeks, which I really wanted to play up on this one.

Step 4: on a multiply layer, I put down a light yellow color everywhere I wanted to show direct sunlight. By the time this step is over, the image should be able to read well even after you take away the lines.

Step 5: Another screen layer with a desaturated cyan midtone. After I finished this, I took the opacity of the layer down to 37% or so so that the ambient lighting wouldn't be overpowering.

Step 6: slap in some occlusion shadows on a multiply layer. For this, I painted using a straight black but set the the opacity of my brush really low, about 10%.

This is what it looks like when I put all the layers together. After this point, I flattened the image and worked out some things like soft and hard edges, subsurface scattering along the core shadows and in the ear, and then I decided that he needed freckles.


